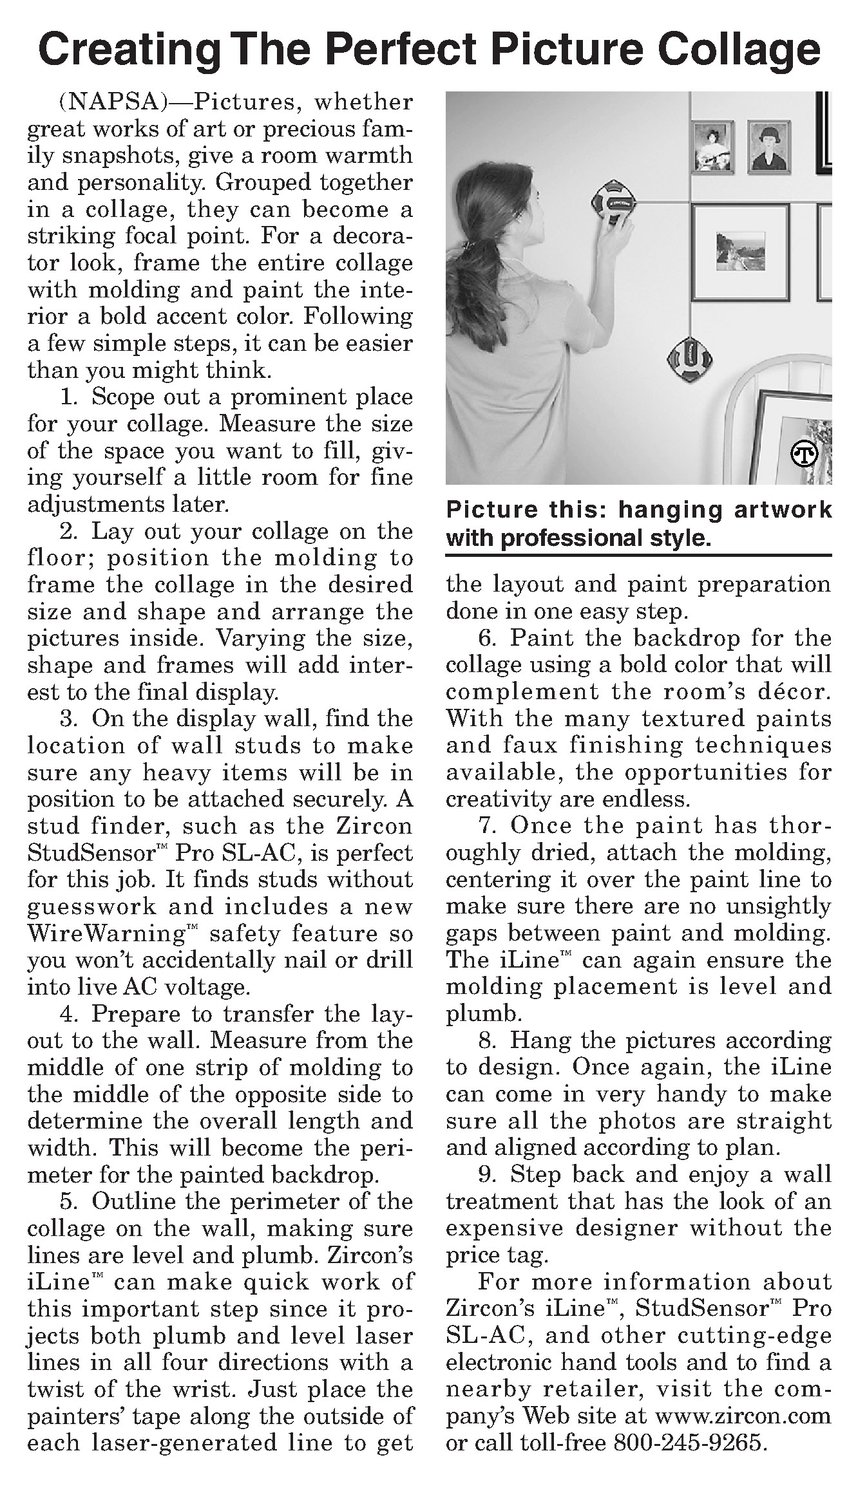


(NAPSA)—Pictures, whether great worksof art or precious family snapshots, give a room warmth and personality. Grouped together in a collage, they can become a striking focal point. For a decorator look, frame the entire collage with molding and paint the interior a bold accent color. Following a few simple steps, it can be easier than you might think. 1. Scope out a prominent place for your collage. Measure thesize of the space you want to fill, giving yourself a little room for fine adjustmentslater. 2. Lay out your collage on the floor; position the molding to frame the collage in the desired size and shape and arrange the pictures inside. Varying thesize, shape and frames will add interest to the final display. 3. On the display wall, find the location of wall studs to make sure any heavy items will be in position to be attached securely. A stud finder, such as the Zircon StudSensor™ Pro SL-AC, is perfect for this job. It finds studs without guesswork and includes a new WireWarning” safety feature so you won't accidentally nail or drill into live AC voltage. 4. Prepare to transfer the layout to the wall. Measure from the middle of one strip of molding to the middle of the opposite side to determine the overall length and width. This will become the perimeter for the painted backdrop. 5. Outline the perimeter of the collage on the wall, making sure lines are level and plumb. Zircon’s iLine™ can make quick work of this important step since it projects both plumb and level laser lines in all four directions with a twist of the wrist. Just place the painters’ tape along the outside of each laser-generated line to get | i Picture this: hanging artwork with professional style. the layout and paint preparation donein one easystep. 6. Paint the backdrop for the collage using a bold color that will complement the room’s dcor. With the many textured paints and faux finishing techniques available, the opportunities for creativity are endless. 7. Once the paint has thoroughly dried, attach the molding, centering it over the paint line to make sure there are no unsightly gaps between paint and molding. The iLine™ can again ensure the molding placement is level and plumb. 8. Hang the pictures according to design. Once again, the iLine can come in very handy to make sure all the photos are straight and aligned accordingto plan. 9. Step back and enjoy a wall treatment that has the look of an expensive designer without the price tag. For more information about Zircon’s iLine™, StudSensor™ Pro SL-AC, and other cutting-edge electronic hand tools and to find a nearby retailer, visit the company’s Website at www.zircon.com or call toll-free 800-245-9265.