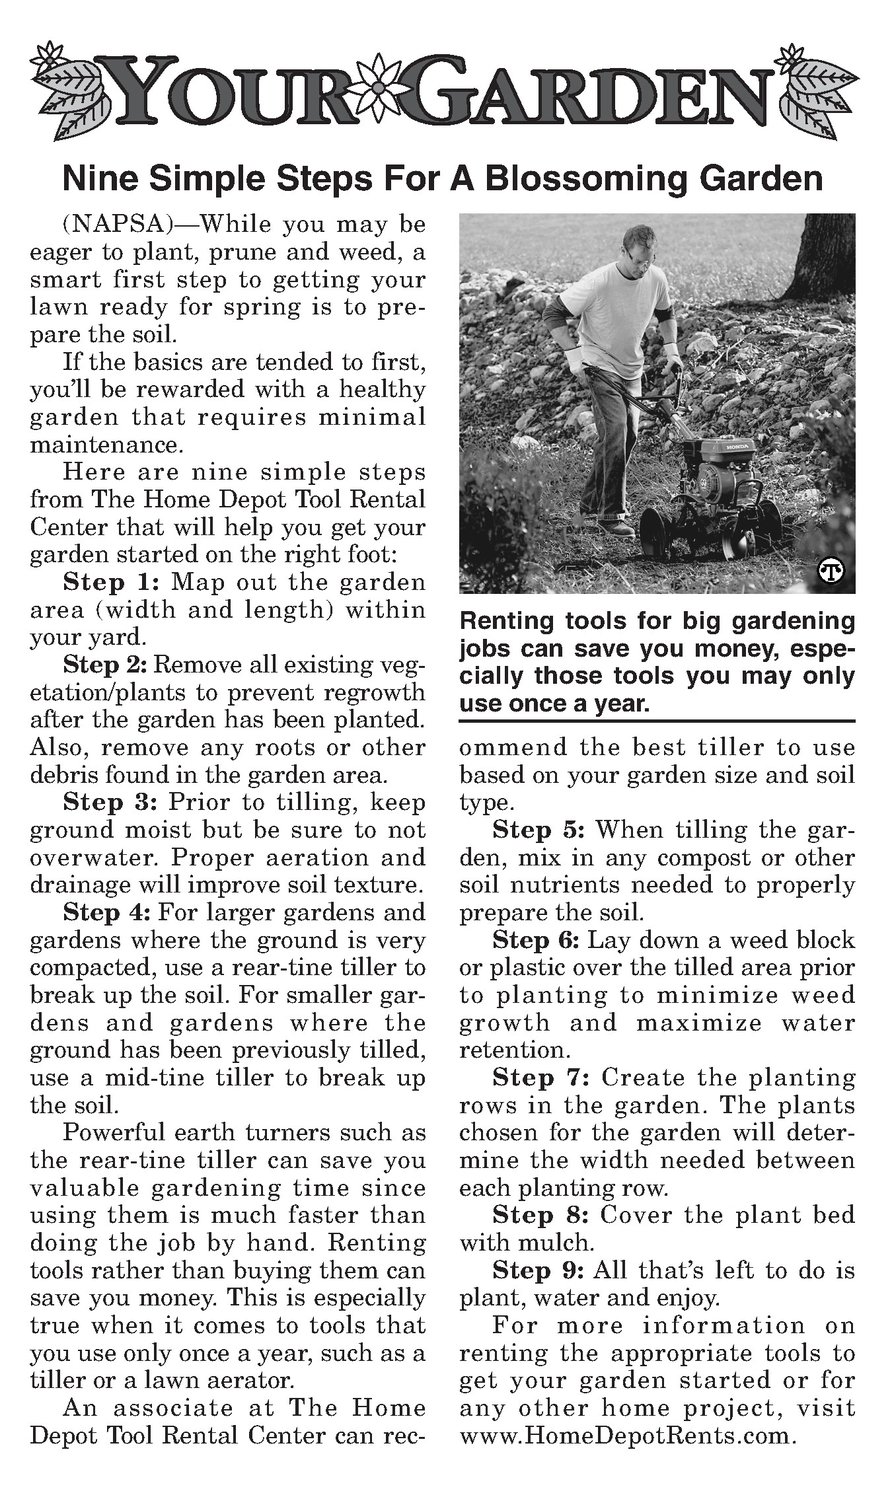


Nine Simple Steps For A Blossoming Garden (NAPSA)—While you may be eager to plant, prune and weed, a smart first step to getting your lawn ready for spring is to prepare thesoil. If the basics are tendedto first, } is i 2 ee (=e ms . ‘ iis ae : en ce | a oat WA Se wy? eS , = iat bee oe ope * ee FS. 9), e pente" KASeae = J pedee es oe ae Mh Semanoreee "hs _ . 2 7 q ss > aS ‘ i, r ereee ail ee Pari il e youll be rewarded with a healthy garden that requires minimal maintenance. Here are nine simple steps from The Home Depot Tool Rental Center that will help you get your garden started on the rightfoot: Step 1: Map out the garden area (width and length) within your yard. Step 2: Removeall existing veg- etation/plants to prevent regrowth after the garden has been planted. Also, remove any roots or other debris found in the garden area. Step 3: Prior to tilling, keep sround moist but be sure to not overwater. Proper aeration and drainage will improvesoil texture. Step 4: For larger gardens and gardens where the ground is very compacted, use a rear-tinetiller to break up the soil. For smaller gar- dens and gardens where the ground has been previously tilled, use a mid-tine tiller to break up the soil. Powerful earth turners such as the rear-tine tiller can save you valuable gardening time since using them is much faster than doing the job by hand. Renting tools rather than buying them can save you money. This is especially true when it comes to tools that you use only once a year, such as a tiller or a lawn aerator. An associate at The Home Depot Tool Rental Center can rec- jobs can save you money, espe- cially those tools you may only use oncea year. ommend the best tiller to use based on your garden size andsoil type. Step 5: Whentilling the garden, mix in any compost or other soil nutrients needed to properly preparethesoil. Step 6: Lay down a weed block or plastic over thetilled area prior to planting to minimize weed gsrowth and maximize water retention. Step 7: Create the planting rows in the garden. The plants chosen for the garden will determine the width needed between each planting row. Step 8: Cover the plant bed with mulch. Step 9: All that’s left to do is plant, water and enjoy. For more information on renting the appropriate tools to get your garden started or for any other home project, visit www.HomeDepotRents.com.