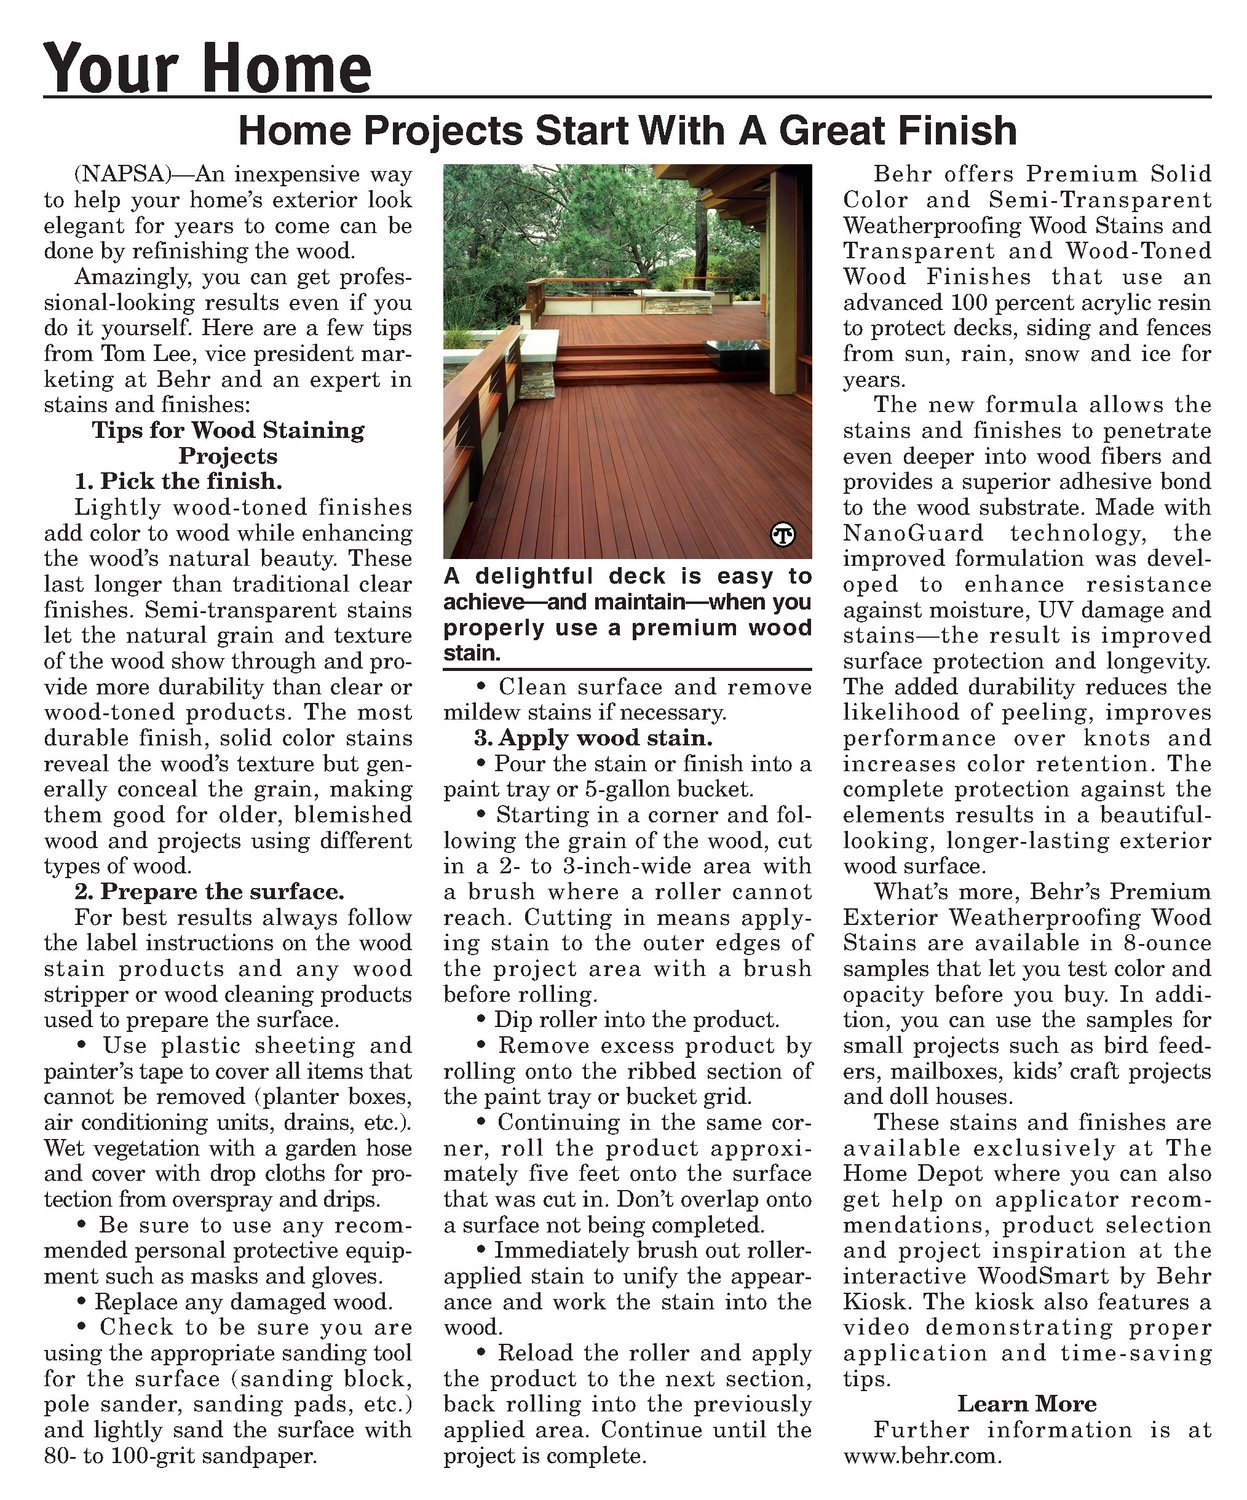


Home Projects Start With A Great Finish (NAPSA)—An inexpensive way to help your home’s exterior look elegant for years to come can be done byrefinishing the wood. Amazingly, you can get professional-looking results even if you do it yourself. Here are a few tips from Tom Lee, vice president marketing at Behr and an expert in stains and finishes: Tips for Wood Staining Projects 1. Pick the finish. Lightly wood-toned finishes add color to wood while enhancing the wood’s natural beauty. These last longer than traditional clear finishes. Semi-transparent stains let the natural grain and texture of the wood show through and provide more durability than clear or wood-toned products. The most durable finish, solid color stains reveal the wood’s texture but generally conceal the grain, making them good for older, blemished wood and projects using different types of wood. 2. Prepare the surface. For best results always follow the label instructions on the wood stain products and any wood stripper or wood cleaning products used to prepare the surface. Use plastic sheeting and painter’s tape to cover all items that cannot be removed (planter boxes, air conditioning units, drains, etc.). Wet vegetation with a garden hose and cover with drop cloths for protection from overspray and drips. Be sure to use any recommendedpersonal protective equipment such as masks andgloves. Replace any damaged wood. Check to be sure you are using the appropriate sandingtool for the surface (sanding block, pole sander, sanding pads, etc.) and lightly sand the surface with 80- to 100-grit sandpaper. A delightful deck is easy to achieve—and maintain—when you properly use a premium wood stain. Clean surface and remove mildew stainsif necessary. 3. Apply woodstain. Pour the stain or finish into a paint tray or 5-gallon bucket. Starting in a corner and following the grain of the wood, cut in a 2- to 3-inch-wide area with a brush where a roller cannot reach. Cutting in means applying stain to the outer edges of the project area with a brush before rolling. Dip roller into the product. Remove excess product by rolling onto the ribbed section of the paint tray or bucket grid. Continuing in the same corner, roll the product approximately five feet onto the surface that was cut in. Don’t overlap onto a surface not being completed. Immediately brush out rollerapplied stain to unify the appearance and work the stain into the wood. Reload the roller and apply the product to the next section, back rolling into the previously applied area. Continue until the project is complete. Behr offers Premium Solid Color and Semi-Transparent Weatherproofing Wood Stains and Transparent and Wood-Toned Wood Finishes that use an advanced 100 percent acrylic resin to protect decks, siding and fences from sun, rain, snow andice for years, The new formula allows the stains and finishes to penetrate even deeper into wood fibers and provides a superior adhesive bond to the wood substrate. Made with NanoGuard technology, the improved formulation was developed to enhance resistance against moisture, UV damage and stains—the result is improved surface protection and longevity. The added durability reduces the likelihood of peeling, improves performance over knots and increases color retention. The complete protection against the elements results in a beautifullooking, longer-lasting exterior woodsurface. What’s more, Behr’s Premium Exterior Weatherproofing Wood Stains are available in 8-ounce samples that let you test color and opacity before you buy. In addition, you can use the samples for small projects such as bird feeders, mailboxes, kids’ craft projects anddoll houses. These stains and finishes are available exclusively at The Home Depot where you can also get help on applicator recommendations, product selection and project inspiration at the interactive WoodSmart by Behr Kiosk. The kiosk also features a video demonstrating proper application and time-saving tips. Learn More Further information is at www.behr.com.