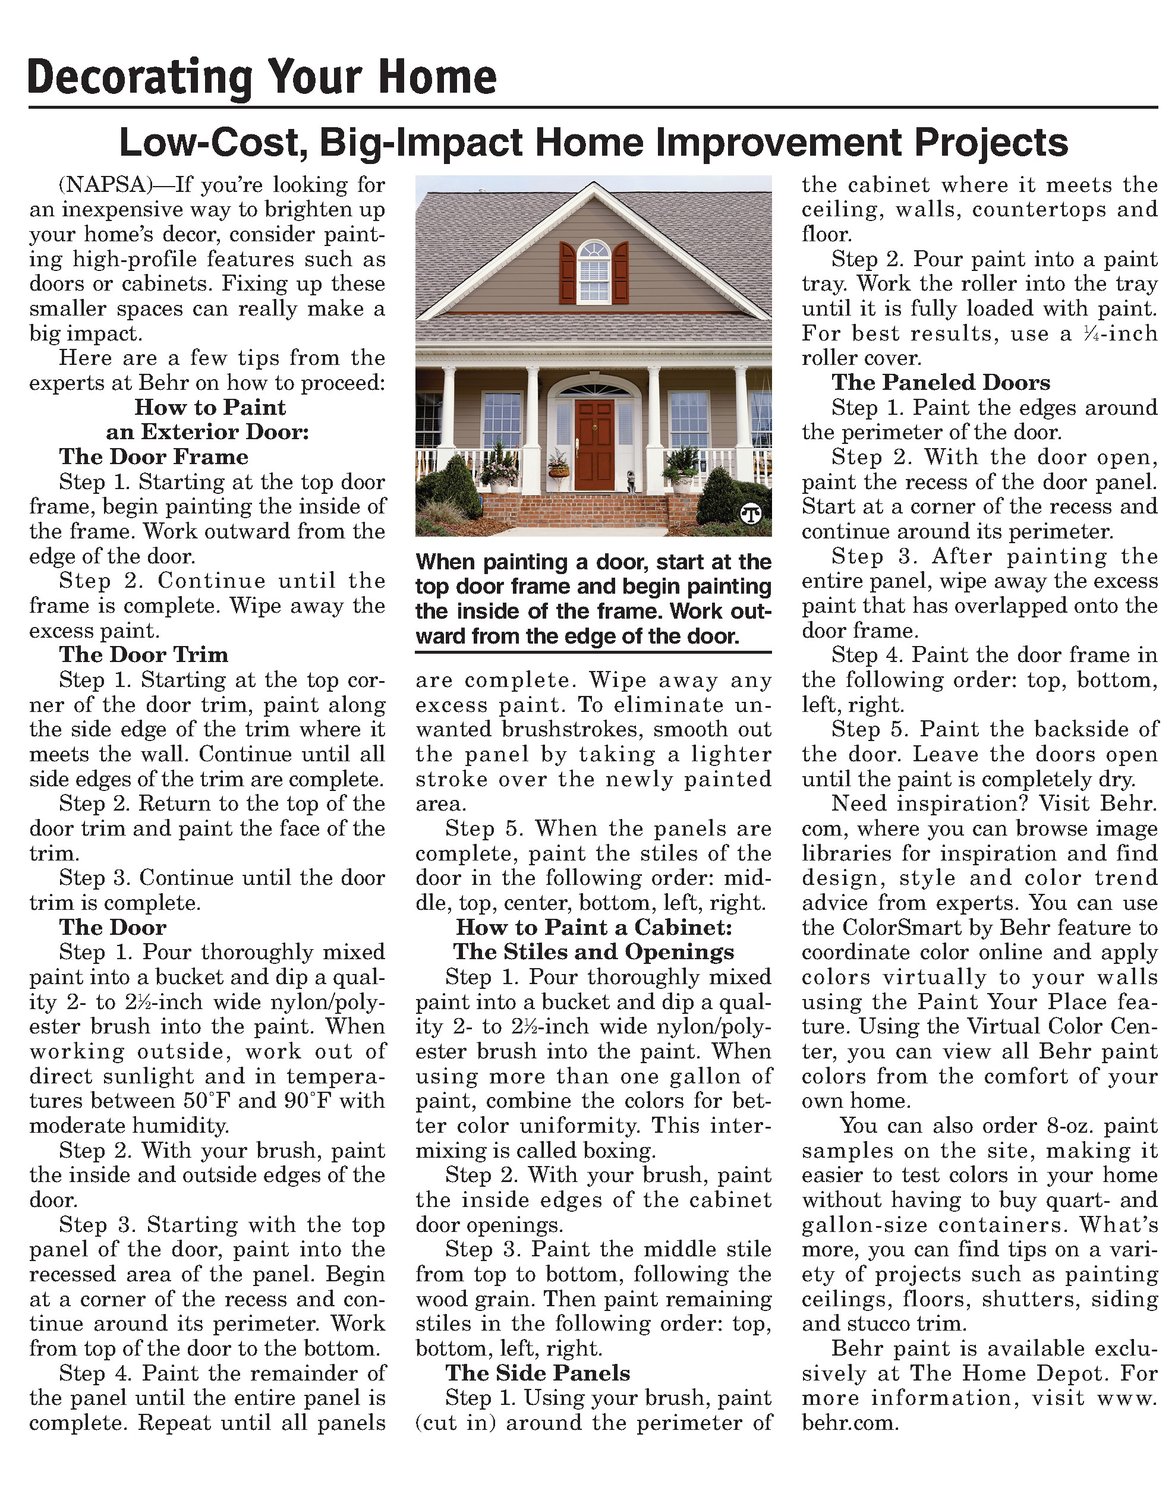


Low-Cost, Big-impact Home Improvement Projects the cabinet where it meets the (NAPSA)—If you're looking for an inexpensive way to brighten up ceiling, walls, countertops and floor. Step 2. Pour paint into a paint your home’s decor, consider painting high-profile features such as doors or cabinets. Fixing up these smaller spaces can really make a tray. Work the roller into the tray until it is fully loaded with paint. big impact. Here are a few tips from the For best results, use a %-inch roller cover. The Paneled Doors experts at Behr on how to proceed: Howto Paint an Exterior Door: Step 1. Paint the edges around the perimeterof the door. Step 2. With the door open, The Door Frame Step 1. Starting at the top door paint the recess of the door panel. Start at a corner of the recess and frame, begin painting the insideof the frame. Work outward from the edge of the door. Step 2. Continue until the frame is complete. Wipe away the excess paint. The Door Trim Step 1. Starting at the top cor- ner of the door trim, paint along the side edge of the trim whereit meets the wall. Continue until all side edges of the trim are complete. Step 2. Return to the top of the door trim and paint the face of the trim. Step 3. Continue until the door trim is complete. The Door Step 1. Pour thoroughly mixed paint into a bucket and dip a qual- ity 2- to 2%-inch wide nylon/polyester brush into the paint. When working outside, work out of direct sunlight and in temperatures between 50F and 90F with moderate humidity. Step 2. With your brush, paint the inside and outside edges of the door. Step 3. Starting with the top panel of the door, paint into the recessed area of the panel. Begin at a corner of the recess and con- tinue around its perimeter. Work from top of the door to the bottom. Step 4. Paint the remainder of the panel until the entire panelis complete. Repeat until all panels When painting a door, start at the top door frame and begin painting the inside of the frame. Work outward from the edgeof the door. are complete. Wipe away any excess paint. To eliminate unwanted brushstrokes, smooth out the panel by taking a lighter stroke over the newly painted area. Step 5. When the panels are complete, paint the stiles of the door in the following order: mid- dle, top, center, bottom, left, right. Howto Paint a Cabinet: The Stiles and Openings Step 1. Pour thoroughly mixed paint into a bucket and dip a qual- ity 2- to 24-inch wide nylon/polyester brush into the paint. When using more than one gallon of paint, combine the colors for better color uniformity. This intermixingis called boxing. Step 2. With your brush, paint the inside edges of the cabinet door openings. Step 3. Paint the middle stile from top to bottom, following the wood grain. Then paint remaining stiles in the following order: top, bottom, left, right. The Side Panels Step 1. Using yourbrush, paint (cut in) around the perimeter of continue aroundits perimeter. Step 3. After painting the entire panel, wipe away the excess paint that has overlapped onto the door frame. Step 4. Paint the door frame in the following order: top, bottom, left, right. Step 5. Paint the backside of the door. Leave the doors open until the paint is completely dry. Need inspiration? Visit Behr. com, where you can browse image libraries for inspiration and find design, style and color trend advice from experts. You can use the ColorSmart by Behr feature to coordinate color online and apply colors virtually to your walls using the Paint Your Place feature. Using the Virtual Color Cen- ter, you can view all Behr paint colors from the comfort of your own home. You can also order 8-oz. paint samples on the site, making it easier to test colors in your home without having to buy quart- and gallon-size containers. What’s more, you can find tips on a vari- ety of projects such as painting ceilings, floors, shutters, siding andstucco trim. Behr paint is available exclusively at The Home Depot. For more information, visit www. behr.com.