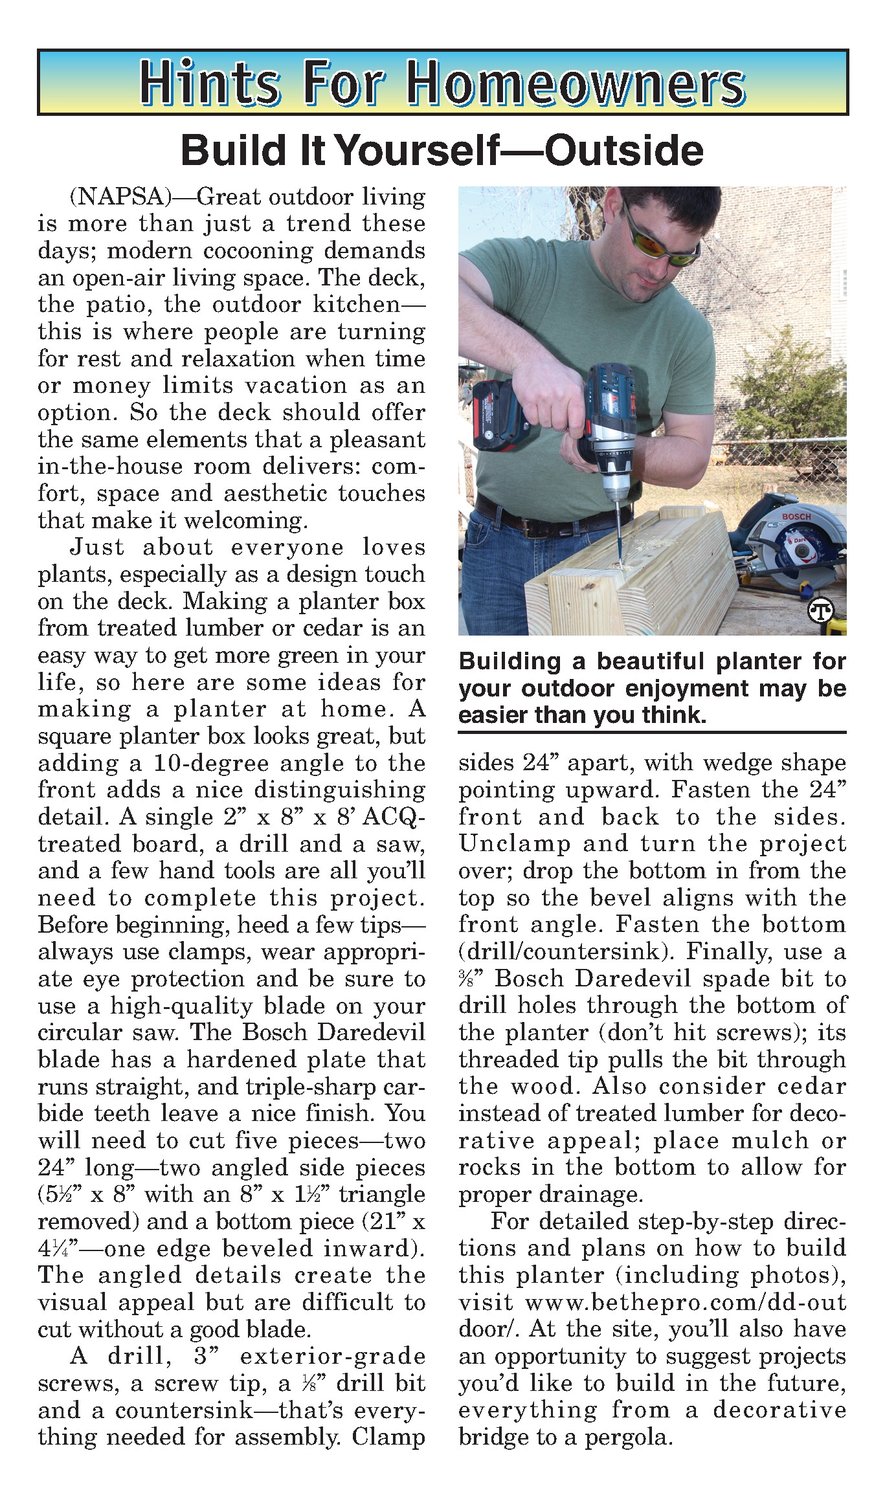


Build It Yourself—Outside (NAPSA)—Great outdoor living is more than just a trend these days; modern cocooning demands an open-air living space. The deck, the patio, the outdoor kitchen— this is where people are turning for rest and relaxation when time or money limits vacation as an option. So the deck should offer the same elements that a pleasant in-the-house room delivers: comfort, space and aesthetic touches that makeit welcoming. Just about everyone loves plants, especially as a design touch on the deck. Making a planter box from treated lumberor cedar is an easy way to get more green in your life, so here are some ideas for making a planter at home. A square planter box looks great, but adding a 10-degree angle to the front adds a nice distinguishing detail. A single 2” x 8” x 8’ ACQtreated board, a drill and a saw, and a few handtools are all you'll need to complete this project. Before beginning, heed a few tips— always use clamps, wear appropriate eye protection and be sure to use a high-quality blade on your circular saw. The Bosch Daredevil blade has a hardened plate that runsstraight, and triple-sharp carbide teeth leave a nice finish. You will need to cut five pieces—two 24” long—two angled side pieces (54” x 8” with an 8” x 1%”triangle removed) and a bottom piece (21” x 4”%”—one edge beveled inward). The angled details create the visual appeal but are difficult to cut without a good blade. A drill, 38” exterior-grade screws, a screw tip, a %”drill bit and a countersink—that’s everything needed for assembly. Clamp Building a beautiful planter for your outdoor enjoyment may be easier than you think. sides 24” apart, with wedge shape pointing upward. Fasten the 24” front and back to the sides. Unclamp and turn the project over; drop the bottom in from the top so the bevel aligns with the front angle. Fasten the bottom (drill/countersink). Finally, use a %” Bosch Daredevil spade bit to drill holes through the bottom of the planter (don’t hit screws); its threaded tip pulls the bit through the wood. Also consider cedar instead of treated lumber for decorative appeal; place mulch or rocks in the bottom to allow for proper drainage. For detailed step-by-step directions and plans on how to build this planter (including photos), visit www.bethepro.com/dd-out door/. At the site, you’ll also have an opportunity to suggest projects you'd like to build in the future, everything from a decorative bridge to a pergola.