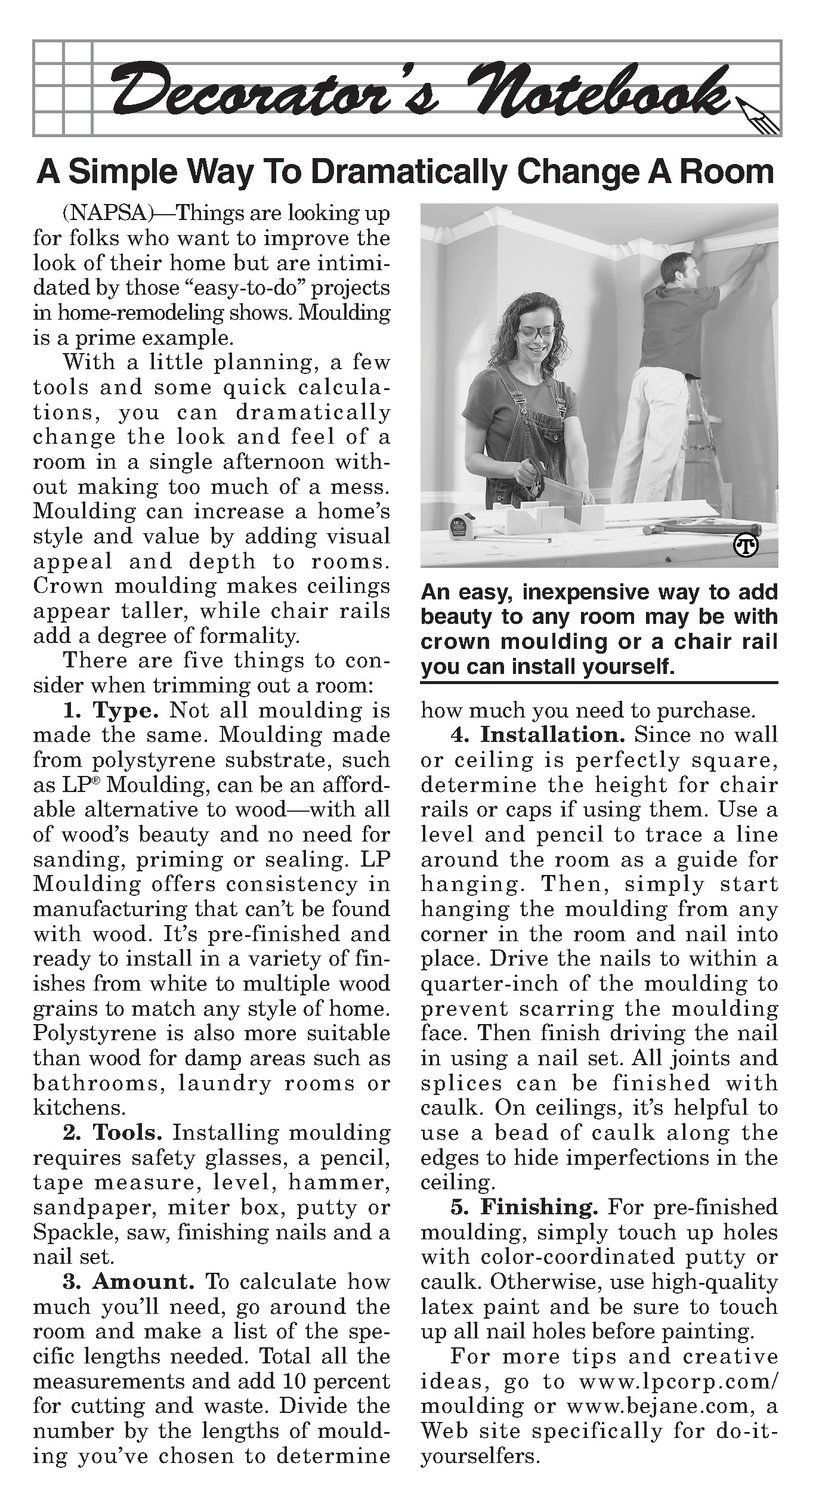


(NAPSA)}—Thingsare looking up for folks who want to improve the look of their homebut are intimidated by those “easy-to-do” projects in home-remodeling shows. Moulding is a prime example. With a little planning, a few tools and some quick calculations, you can dramatically change the look and feel of a room in a single afternoon with- out making too much of a mess. Moulding can increase a home’s style and value by adding visual appeal and depth to rooms. Crown moulding makes ceilings appear taller, while chair rails add a degree of formality. There are five things to consider when trimming out a room: 1. Type. Not all moulding is made the same. Moulding made from polystyrene substrate, such as LP Moulding,can be an affordable alternative to wood—with all of wood’s beauty and no need for sanding, priming or sealing. LP Moulding offers consistency in manufacturing that can’t be found with wood. It’s pre-finished and ready to install in a variety of finishes from white to multiple wood grains to match anystyle of home. Polystyrene is also more suitable than wood for damp areas such as bathrooms, laundry rooms or kitchens. 2. Tools. Installing moulding requires safety glasses, a pencil, tape measure, level, hammer, sandpaper, miter box, putty or Spackle, saw, finishing nails and a nail set. 3. Amount. To calculate how much you'll need, go around the room and makea list of the specific lengths needed. Total all the measurements and add 10 percent for cutting and waste. Divide the number by the lengths of moulding you’ve chosen to determine An easy, inexpensive way to add beauty to any room may be with crown moulding or a chair rail you caninstall yourself. how much you need to purchase. 4, Installation. Since no wall or ceiling is perfectly square, determine the height for chair rails or caps if using them. Use a level and pencil to trace a line around the room as a guide for hanging. Then, simply start hanging the moulding from any corner in the room and nail into place. Drive the nails to within a quarter-inch of the moulding to prevent scarring the moulding face. Then finish driving the nail in using a nail set. All joints and splices can be finished with caulk. On ceilings, it’s helpful to use a bead of caulk along the edges to hide imperfections in the ceiling. 5. Finishing. For pre-finished moulding, simply touch up holes with color-coordinated putty or caulk. Otherwise, use high-quality latex paint and be sure to touch up all nail holes before painting. For more tips and creative ideas, go to www.lpcorp.com/ moulding or www.bejane.com, a Web site specifically for do-ityourselfers.