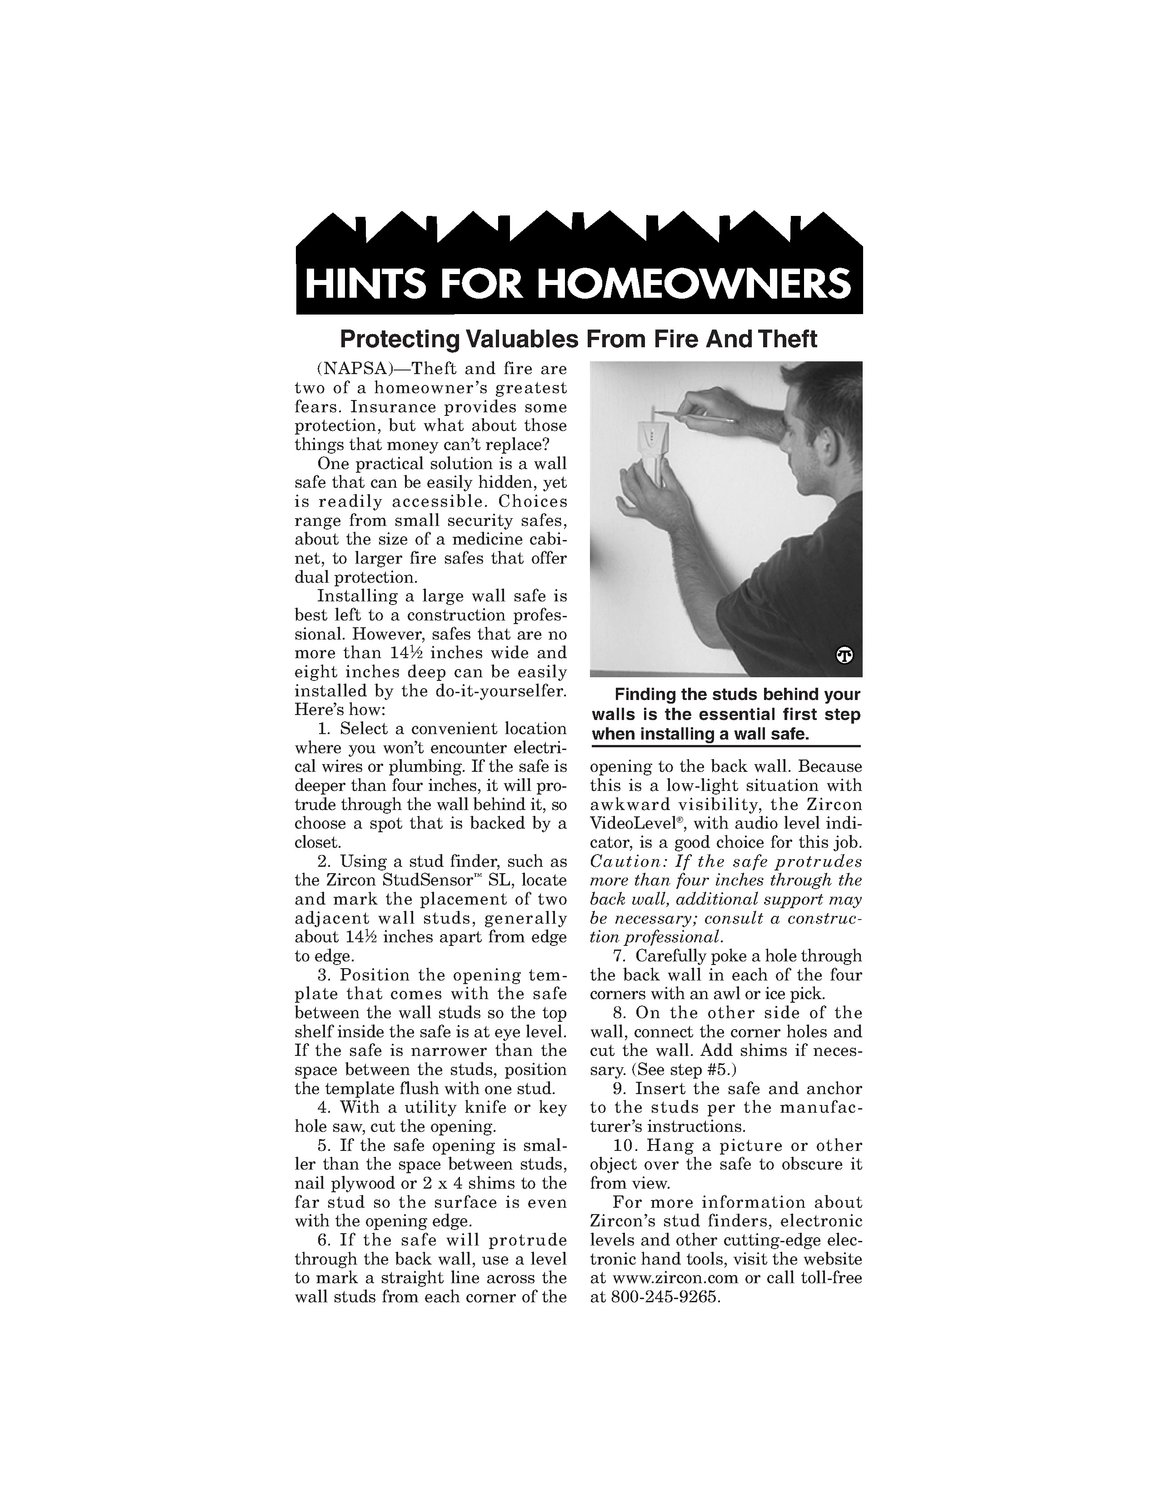


Protecting Valuables From Fire And Theft (NAPSA)—Theft and fire are two of a homeowner’s greatest fears. Insurance provides some protection, but what about those things that money can’t replace? Onepractical solution is a wall safe that can be easily hidden, yet is readily accessible. Choices range from small security safes, about the size of a medicine cabinet, to larger fire safes that offer dual protection. Installing a large wall safe is best left to a construction professional. However, safes that are no more than 14% inches wide and eight inches deep can be easily installed by the do-it-yourselfer. Here’s how: 1. Select a convenient location where you won't encounter electrical wires or plumbing.If the safe is deeper than four inches,it will protrude through the wall behindit, so choose a spot that is backed by a closet. 2. Using a stud finder, such as the Zircon StudSensor™ SL, locate and mark the placement of two adjacent wall studs, generally about 14% inches apart from edge to edge. 3. Position the opening template that comes with the safe between the wall studs so the top shelf inside the safe is at eye level. If the safe is narrower than the space between the studs, position the template flush with one stud. 4. With a utility knife or key hole saw, cut the opening. 5. If the safe opening is smaller than the space between studs, nail plywood or 2 x 4 shims to the far stud so the surface is even with the opening edge. 6. If the safe will protrude through the back wall, use a level to mark a straight line across the wall studs from each cornerof the Finding the studs behind your walls is the essential first step when installing a wall safe. opening to the back wall. Because this is a low-light situation with awkward visibility, the Zircon VideoLevel, with audio level indicator, is a good choice for this job. Caution: If the safe protrudes more than four inches through the back wall, additional support may be necessary; consult a construction professional. 7. Carefully poke a hole through the back wall in each of the four corners with an awl orice pick. 8. On the other side of the wall, connect the corner holes and cut the wall. Add shims if necessary. (See step #5.) 9. Insert the safe and anchor to the studs per the manufacturer’s instructions. 10. Hang a picture or other object over the safe to obscure it from view. For more information about Zircon’s stud finders, electronic levels and other cutting-edge electronic handtools, visit the website at www.zircon.com orcall toll-free at 800-245-9265.